
Article: How To Get Professional Looking Cinematic Footage From Your DJI Drone
How To Get Professional Looking Cinematic Footage From Your DJI Drone
UPDATE:
For a fast overview of the workflow in this post, you can watch this tutorial. You will be making amazing looking films within a 5min explanation.
Highly recommended to watch and apply to your films
The Dji Mavic and Phantom, a technological masterpiece, has entered our lives with its amazing quality build, stealth looks, precision flying to match its design, massive range and pure flying enjoyment. The Mavic has commercialised the drone world like no other prior to any of its predecessors.
I, like so many, bought the Mavic as my first drone and my expectations were far exceeded. However there is a catch, it’s the camera and footage! Why Dji did you drop the ball right there?
For the most part, the majority of us who have the Mavic are using it for more than just flying pleasure. It has shifted the minds of so many with a Mavic who see the potential of capturing amazing scenic arial footage of their home town, travel destinations and other hard to reach locations. Its capability to film and see from a perspective that we naturally wouldn’t normally be able to see as mere ground dwelling mortals has captured our imaginations. We all want to show off our films to everyone, to express and appreciate the magnificent views, and to engage in creative storytelling.
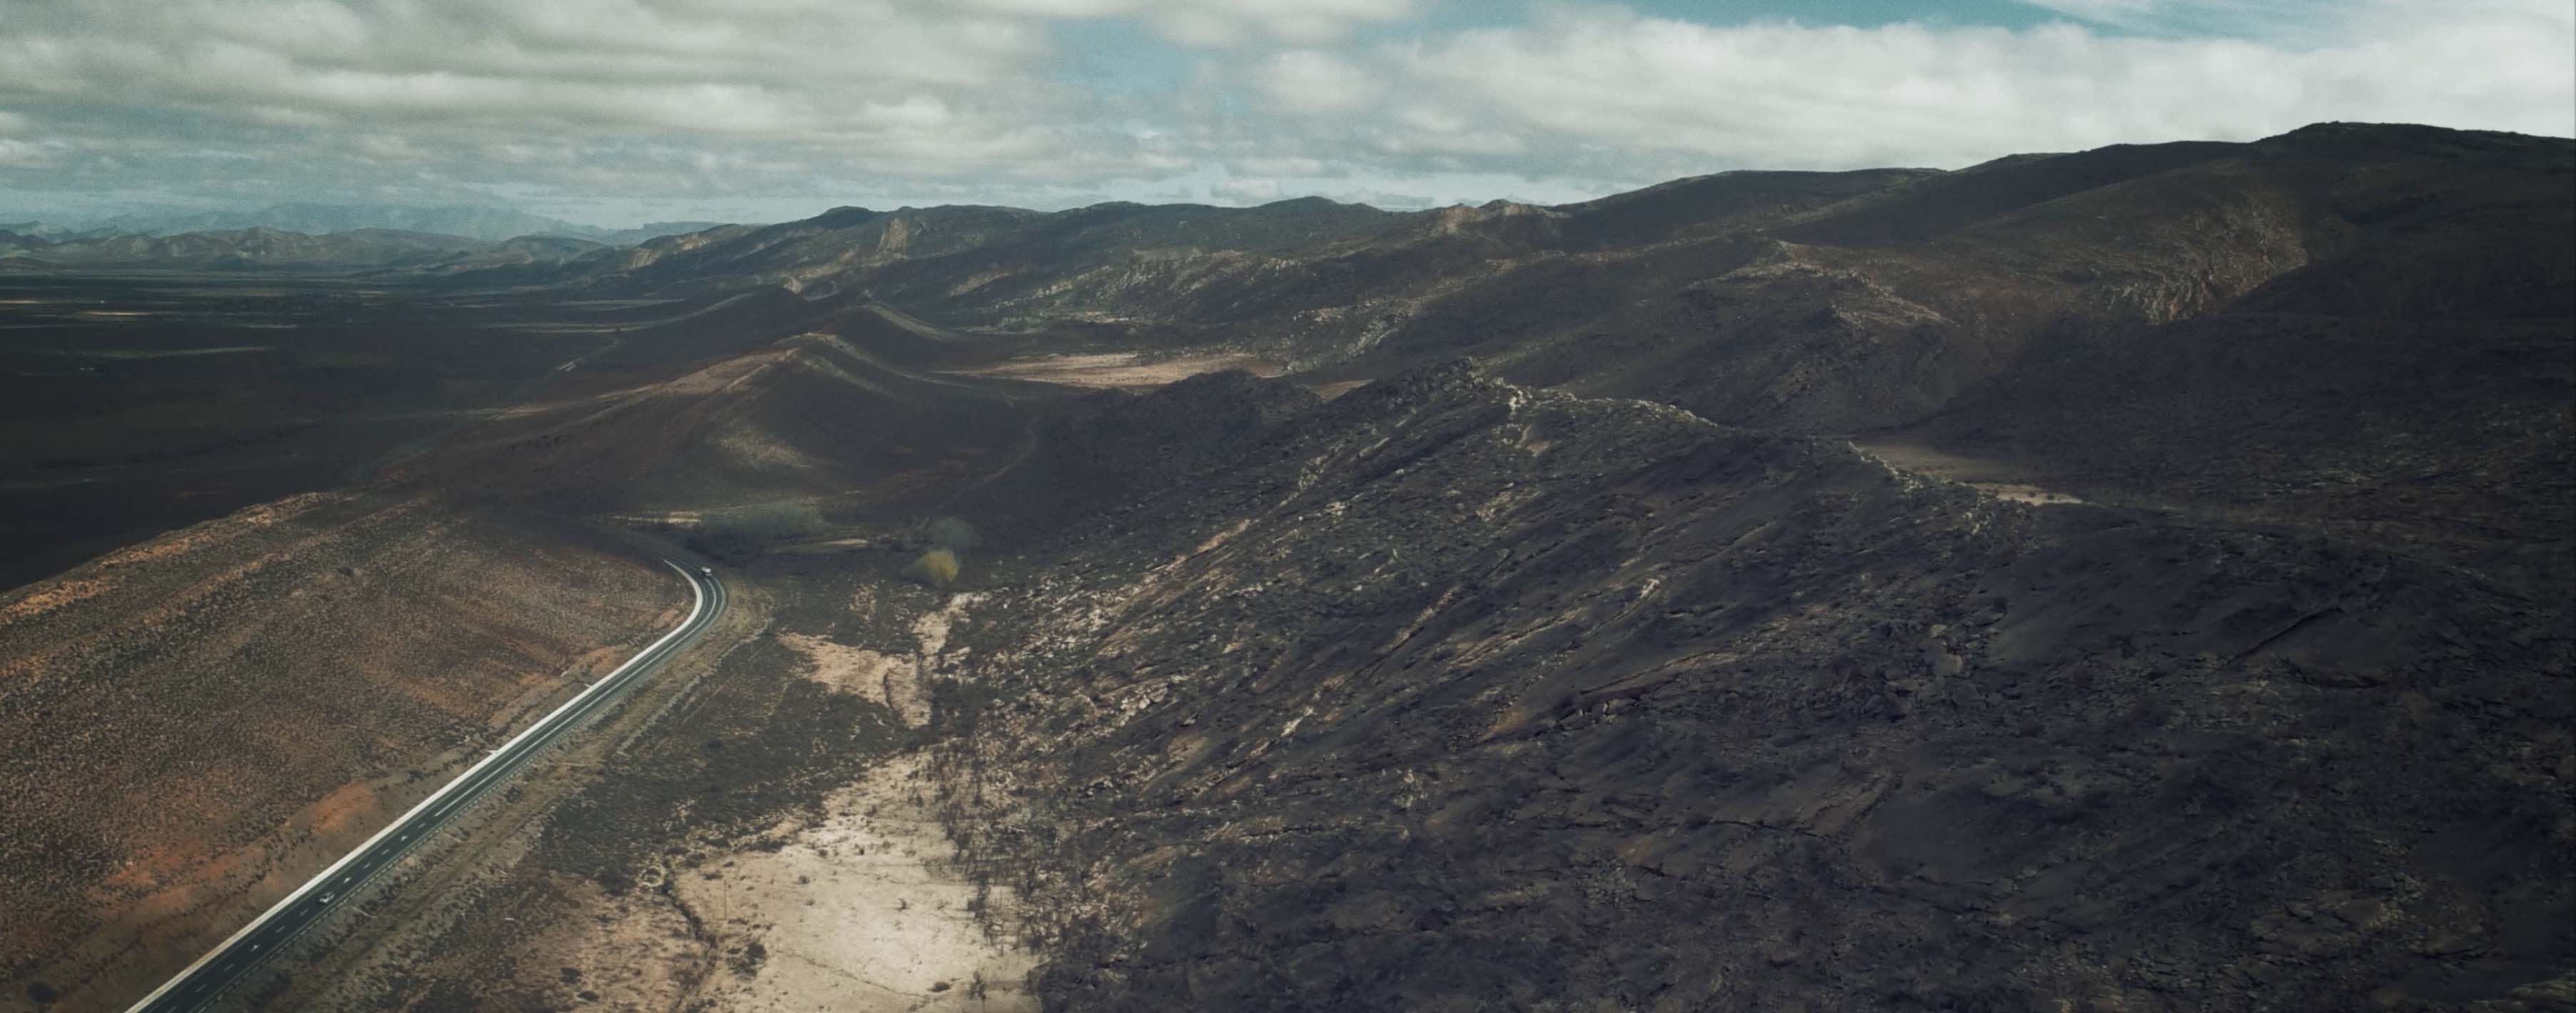
The quality of the Mavic footage is where I, like many others, am left underwhelmed. It is “ok” by todays standards, however my mobile phone, with the correct app, can film with better image quality. What a waste to be at an amazing location filming that epic cloud formation, rolling hills, city scape or action shot — which you try so hard to compose correctly with your master flying skills — and the image quality turns out mediocre.
You load the footage in the edit suite and then all of a sudden you experience the low dynamic range, the magenta cast, the blurry greens and darks, the excessive sharpness with added digital noise, the low light limitations, and the nasty heavy compression artefacts that are so undesirable. So you try throw on a grade and all of a sudden these artefacts are exaggerated with compression blocking, banding and noise.
Unfortunately these issues are here to stay, however there are ways to reduce these artefacts and improve the overall effect of the footage. My personal approach with achieving a cinematic look is through the use of grading, which in my view is the most important aspect to achieve the filmic look. I use the SpectrumGrades cinematic color presets LUTs to speed up the workflow and get the most from my footage in a very easy and effective way. Color grading such as this not only quickly and easily sets the mood, but it also balances out the image, draws your eye to a specific subject, reduces noise, and the list goes on.
I have had many requests and conversations with many people asking about my post production workflow on films such as these, and have had an amazing response from the wonderful community…
This is where my many years of being in the post production industry has lead me to find a simplistic solution to dramatically improve and simplify the workflow of the Mavic, where pretty much everyone with basic general editing knowledge can get really amazing satisfactory results by following these basic steps. This is my workflow and a tips for Adobe Premiere:
SOLUTION:
Picture profiles:
• D-log (Mavic Pro and Mavic 2 Pro)
• D-Cinelike (Mavic Air, Mavic 2 Zoom and Phantom 4 pro)
Custom Settings:
• Sharpness: +1 Sharpness recommended (Noise reduction may be required) 0 sharpness if one isn’t familiar with noise reduction however can often have blurry greens and darks) This is a subjective decision based on what you visually prefer
- Contrasts -3
• Saturation 0
Camera settings:
• Frame Size resolution: 2.7K(Mavic Pro) better picture information in low contrast areas (Con: Does enhance noise to a slight degree)
4K for the Mavic Air and Phantom 4 Pro
• Frame rate: 24/25P (less compression being spread out per second than higher frame rates such as 30p)
- Shutter speed as close to 50
Flying tips:
• Keep horizon line always level (adjust in post if needed)
• Smooth camera movements (use the warp stabiliser in premiere to smooth shots)
• Create Interesting shots with parallax movements
• Higher isn’t always better, experiment with low flying shots as well.
• Time of the day: light in the mornings and afternoons generally are best.
• Subtle over cast clouds can help Mavic deal with dynamic range by softening the light.
• Histogram and EV meter: Make sure there is no over exposure where there is a loss of detail in the highlight areas such as clouds. On the EV meter film at 0 to -7, however -3 is often recommended to manage the highlights. Note that from -7 to -3 there could be issues of under exposure that can cause additional noise even at iso 100.
• If you unsure about the exposure, then trust your own judgment on what you see on the screen, histogram and EV meter combined.
• Keep ISO at 100 as much as possible.
• If you have filters, keep the shutter speed as close 50. Most often it will not be exact on 50 and at the same time have the correct exposure. Rather prioritise correct exposure over shutter speedStep 1:
Noise reduction:
Noise reduction should be first in the effects chain as it far more effective applied before than when its applied after graded footage which enhances noise. Remember when uploading to youtube it is going to soften the image a small amount due to compression. This helps with sharpness issues.
• Add noise reduction. This will remove digital noise and helps with the over sharpened image. I use Neat Video. You can get the Neat Video Mavic Noise Profiles here which do a great job in reducing noise and maintaining clarity for your footage.
• If you don't have a noise reduction plugin then use the “compound blur” effect. Set the “Maximum blur” to 0,6 or to your preference depending on the footage.
Before and after noise reduction
Step 2: Grading
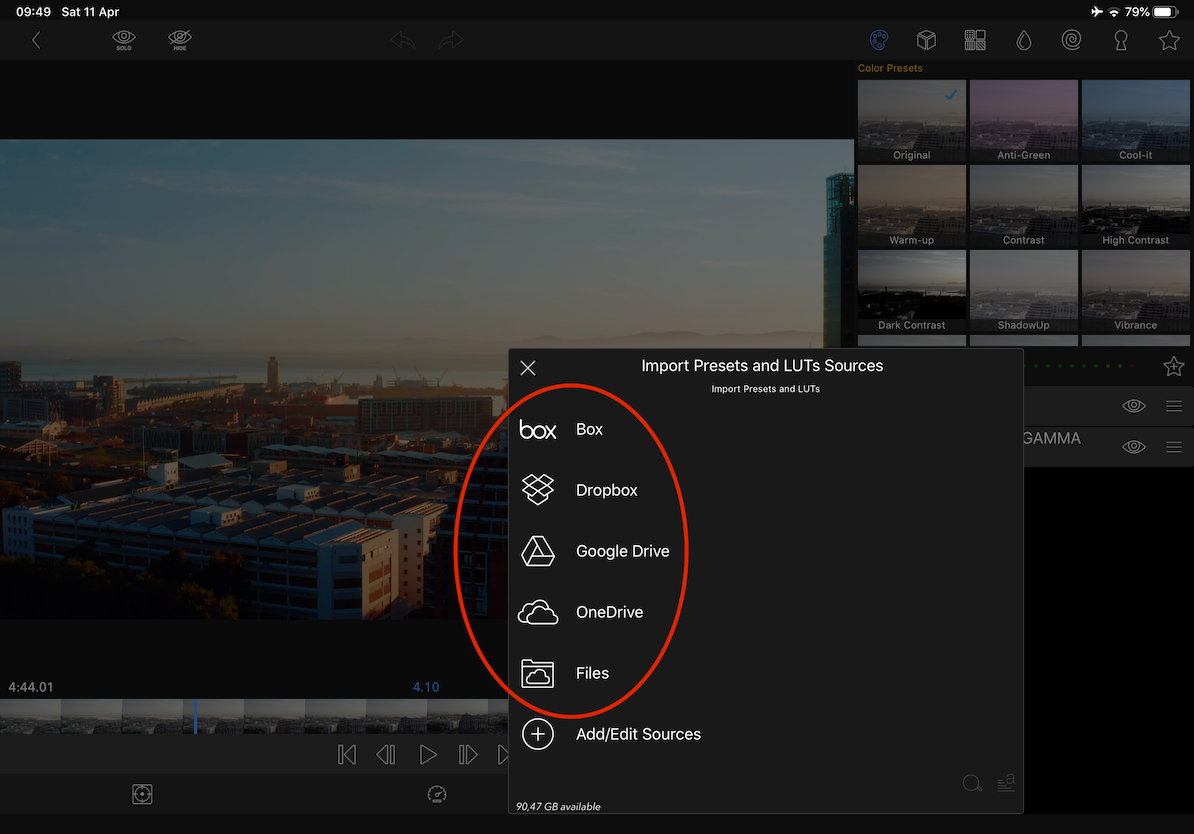
Grade with the SpectrumGrades Cinematic LUTs in the Lumetri effect panel.
Get the SpectrumGrades image enhancement and grading tools here
• Add the Lumetri effect
• Switch workspace to “Color”
• In the “creative” tab in Lumetri effect select the SpectrumGrades LUTs of you choice and click on the preview window to activate the look.
• Just below the preview window, set the intensity of the preset to 75 or to your liking.
• Adjust your basic correction settings to get your desired look. To give you an idea, the basic correction parameters are as follows in the below image for this particular shot.
• Make sure your scopes don't clip on the whites and blacks. Yet I try to get as much luminance range as possible while still maintaining picture information in the whites and darks. 0 is pure black and 100 is pure white. If you go beyond these points then picture information is lost.
Step 3: Output/saving
To maintain the best image possible by avoiding a compression generation loss I find rendering the video to ProRes 422 HQ is best for youtube. Its a large file however I can definitely see the difference in quality.
• 2.7k is plenty resolution. However if you do decide you want to have a 4k output, then simply upscale your footage to 4k
• Render to ProRes to maintain optimal quality to preserve compression generation loss before uploading to youtube.
Conclusion:
As a filmmaker it is important to have a creative eye, no matter how good these pointers are, if you are filming a patch of grass with a random tree with bland lighting, the footage is bound to disappoint no matter what you throw at it. So it’s important to get your shot right first, and then apply the magic in post with your edit and grade.
Should any of you want to ask questions, please subscribe and message me on my youtube channel as I’m very active on it and am happy to chat.
Youtube channel:
https://www.youtube.com/channel/UCa1gpka4SNpWx1lSk37iZrQ
SpectrumGrades imaging tools and noise reduction profiles:
Read more
How to install LUTs into LumaFusion
Our LUTs are fully supported in LumaFusion Regarding downloading the pack, from your iOS device you can use safari and save it to the "files app”.Just make sure you have the latest update on your ...
Read more